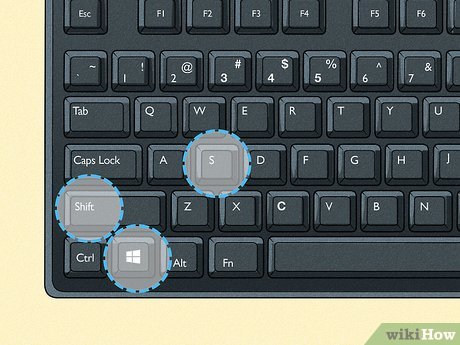
To reset your MacBook Air to factory settings without a disc, go to the Apple menu, select Restart, and hold down the Command and R keys until the Apple logo appears. This will start up your MacBook in recovery mode, where you can choose to erase and reinstall macOS.
When it comes to restoring your MacBook Air to its original state, you may find yourself wondering how to do it without a disc. Fortunately, Apple provides a solution that allows you to reset your device to factory settings using the built-in recovery mode.
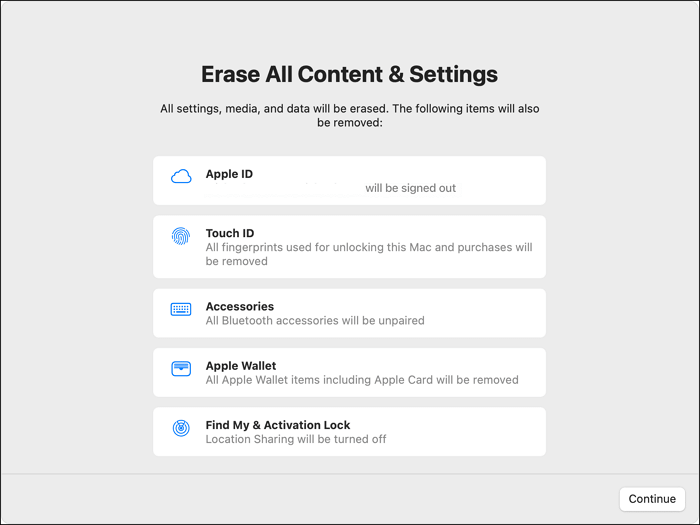
By following a simple process, you can erase all the data on your MacBook Air and reinstall the macOS, effectively bringing it back to its out-of-the-box condition. In the following guide, we will explain how to reset your MacBook Air to factory settings without a disc, providing you with an easy-to-follow method that requires no additional hardware.
Backing Up Your Data
Before you reset your MacBook Air to factory settings without a disc, it’s essential to back up your data to prevent permanent loss. You can choose between using Time Machine or manually backing up your files.
Strongusing Time Machine/strong
If you have Time Machine set up on your MacBook Air, backing up your data is a breeze. Time Machine automatically creates regular backups, ensuring that your important files and documents are always safe and secure.
To use Time Machine for backing up your data:
- Make sure your Time Machine backup disk is connected to your MacBook Air.
- Click on the Apple menu and select “System Preferences.”
- Choose “Time Machine” from the preferences panel.
- Turn on the Time Machine slider and click on “Select Backup Disk.”
- Select your backup disk and click on the “Use Disk” button.
- Click on “Options” to specify any exclusions if needed.
- Finally, click on “Back Up Now” to initiate the backup process.
Remember, keeping your Time Machine backup disk connected ensures that your data is continuously protected. It’s a convenient and reliable way to preserve your files before resetting your MacBook Air.
Strongmanually Backing Up Files/strong
If you don’t have Time Machine set up or prefer to back up your data manually, you can do so by following these steps:
- Create a backup folder on an external hard drive or a cloud storage service like iCloud or Dropbox.
- Identify the files and folders you want to back up and copy them into the backup folder.
- Ensure that you have copied everything you need, including important documents, photos, videos, and any other files.
- Double-check the backup folder to verify that all the necessary files are present.
Once you’ve completed the manual backup process, you can proceed with resetting your MacBook Air without worrying about losing your important data. Remember to keep your backup drive or storage service connected until the reset process is complete.
Credit: www.easeus.com
Creating A Bootable Installer
Learn how to reset your MacBook Air to its factory settings without using a disc by creating a bootable installer. This step-by-step process will help you restore your device quickly and efficiently.
Creating a Bootable Installer
One of the common methods to reset a MacBook Air to factory settings is by creating a bootable installer. This process involves downloading macOS onto a USB drive and using it to reinstall the operating system on your MacBook Air. By following these simple steps, you can easily create a bootable installer without the need for a disc.
H3: Downloading macOS
The first step in creating a bootable installer is to download the macOS installation file. To do this:
1. Go to the App Store on your MacBook Air.
2. Search for the latest version of macOS that is compatible with your device.
3. Click on the “Get” button to initiate the download.
Once the download is complete, the macOS installation file will be saved in the Applications folder on your MacBook Air.
H3: Creating a Bootable USB Drive
Now that you have the macOS installation file, it’s time to create a bootable USB drive. Follow these steps:
1. Connect a USB drive with sufficient storage capacity to your MacBook Air.
2. Open the “Disk Utility” application, which can be found in the Utilities folder within the Applications folder.
3. Select the USB drive from the list on the left-hand side of the Disk Utility window.
4. Click on the “Erase” tab and choose a name for the USB drive, along with the appropriate format (Mac OS Extended (Journaled)).
5. Click the “Erase” button to format the USB drive.
6. Once the formatting is complete, go to the “Restore” tab.
7. Drag and drop the macOS installation file from the Applications folder into the “Source” field.
8. Drag and drop the newly formatted USB drive into the “Destination” field.
9. Double-check that you have selected the correct source and destination, as this process will erase all data on the destination drive.
10. Click on the “Restore” button to begin the process of creating the bootable USB drive.
With these steps, you have successfully created a bootable installer for your MacBook Air. This USB drive can now be used to reset your device to factory settings without the need for a disc. Simply restart your MacBook Air while holding down the Option key, select the bootable USB drive as the startup disk, and follow the prompts to reinstall macOS and reset your device.
Creating a bootable installer is a convenient and reliable method to reset your MacBook Air to factory settings. It allows you to reinstall macOS without the need for a disc, making the process more accessible to all users. By following the steps outlined above, you can quickly create a bootable USB drive and reset your device with ease.
Booting From The Bootable Installer
To reset your Macbook Air to factory settings without using a disc, you can boot from a bootable installer. This straightforward process allows you to restore your Macbook to its original state and start fresh. Follow our step-by-step guide to easily accomplish this task.
If you’re planning to reset your MacBook Air to factory settings but don’t have the installation disc, don’t worry! You can still achieve this by creating a bootable installer on a USB drive. Booting from the bootable installer will allow you to access macOS Utilities, where you can reset your MacBook Air to its original state. Here’s how you can do it:
Restarting Your Macbook Air
To begin the process, you need to restart your MacBook Air. Make sure you save any unsaved work before proceeding. Restarting your device will give you the necessary option to boot from the bootable installer. Follow these steps:
- Click on the Apple logo in the top left corner of your screen.
- Select “Restart” from the drop-down menu.
- Wait for your MacBook Air to restart.
Entering Macos Utilities
Once your MacBook Air has restarted, you need to proceed to macOS Utilities, which grants you access to various tools that can help you reset your device. Follow these steps:
- As your MacBook Air begins to restart, immediately press and hold the “Option” key on your keyboard.
- A list of available startup disks will appear on your screen. Use the arrow keys to select the bootable installer you created on the USB drive.
- Press the “Enter” key to confirm your selection.
- Your MacBook Air will now boot from the bootable installer.
By successfully booting from the bootable installer, you have gained access to macOS Utilities, which is essential for the process of resetting your MacBook Air to factory settings. Now you can proceed with the necessary steps to restore your device to its original state. Remember to follow the instructions carefully to ensure a seamless and successful reset.
Erasing And Installing Macos
In this section, we will guide you through the process of resetting your MacBook Air to its factory settings without using a disc. The first step in this process is to erase the hard drive and then install macOS from scratch. Follow the instructions below to do so:
Selecting Disk Utility
The first thing you need to do is to boot your MacBook Air into Recovery Mode. To do this, start by shutting down your laptop completely. Once it is turned off, press and hold the Command and R keys on your keyboard, and then press the power button. Keep holding the Command and R keys until the Apple logo or a spinning globe appears on the screen.
Once you are in Recovery Mode, you will see different options on the screen. To select Disk Utility, click on Utilities in the menu bar and choose Disk Utility from the drop-down menu.
Erasing The Hard Drive
After opening Disk Utility, you will see a list of available drives and volumes on your MacBook Air. To erase the hard drive and remove all the data, click on the internal drive labeled with your macOS version (e.g., “Macintosh HD”).
Next, click on the Erase button at the top of the Disk Utility window. A pop-up window will appear, allowing you to choose the format for the drive. Select Mac OS Extended (Journaled) as the format, give the drive a new name if desired, and click on Erase. Please note that erasing the hard drive will completely delete all your files and applications, so make sure you have backed up everything you need before proceeding.
Installing Macos
Once the hard drive is erased, close the Disk Utility window. You will be taken back to the main Recovery Mode screen. From there, click on Reinstall macOS and follow the on-screen instructions to reinstall the operating system.
During the installation process, your MacBook Air will connect to Apple’s servers to download the necessary software. Make sure you have a stable internet connection and a power source to ensure uninterrupted installation.
Once the installation is complete, your MacBook Air will restart, and you will be greeted with the initial macOS setup screen. Follow the prompts to set up a new user account, choose your preferences, and customize your settings.
That’s it! You have successfully reset your MacBook Air to its factory settings without using a disc. Now you can start fresh and enjoy the optimized performance of your device.
Completing The Setup
Once you have successfully reset your MacBook Air to factory settings without a disc, it’s time to complete the setup process. This involves selecting your language and region, signing in with your Apple ID, and setting up user accounts. Let’s dive into each step!
Selecting Your Language And Region
To begin, you need to select your preferred language and region settings. This ensures that your MacBook Air will operate with the correct regional settings, such as date, time, and currency formats. Here’s how you can do it:
- After turning on your MacBook Air, you will be greeted with the Welcome screen.
- Select your language from the list provided. This will set the language for your entire system.
- Next, choose your region from the options available. This determines region-specific settings such as formats and keyboards.
- Once you have made your selections, click on the “Continue” button to proceed.
Signing In With Your Apple Id
Now that you have set up your language and region, it’s time to sign in with your Apple ID. Your Apple ID is essential for managing your Mac and accessing various Apple services. Here’s how you can sign in:
- On the “Sign In with Your Apple ID” screen, enter your Apple ID and password in the respective fields.
- If you don’t have an Apple ID, you can create one by clicking on the “Create Apple ID” option and following the on-screen instructions.
- After entering your Apple ID credentials, click on the “Continue” button to proceed.
- If you have enabled two-factor authentication for your Apple ID, you may need to verify your identity using your trusted devices or phone number.
Setting Up User Accounts
Once you have signed in with your Apple ID, you can proceed with setting up user accounts on your MacBook Air. User accounts allow multiple individuals to have their own personalized settings and access to the device. Here’s how you can set up user accounts:
- On the “Transfer Information to This Mac” screen, you have the option to transfer data from another Mac, Time Machine backup, or startup disk. If you don’t want to transfer data at this time, you can select the “Don’t Transfer any Information Now” option and click on “Continue”.
- Next, you can create a new user account by clicking on the “Create a New Account” option. Enter the required information, such as full name, account name, password, and password hint.
- If you want to create additional user accounts, click on the “+” button and repeat the process.
- Once you have finished setting up user accounts, click on the “Continue” button to proceed.
Congratulations! You have successfully completed the setup process for your MacBook Air. Now you can start enjoying your device with a fresh new start!
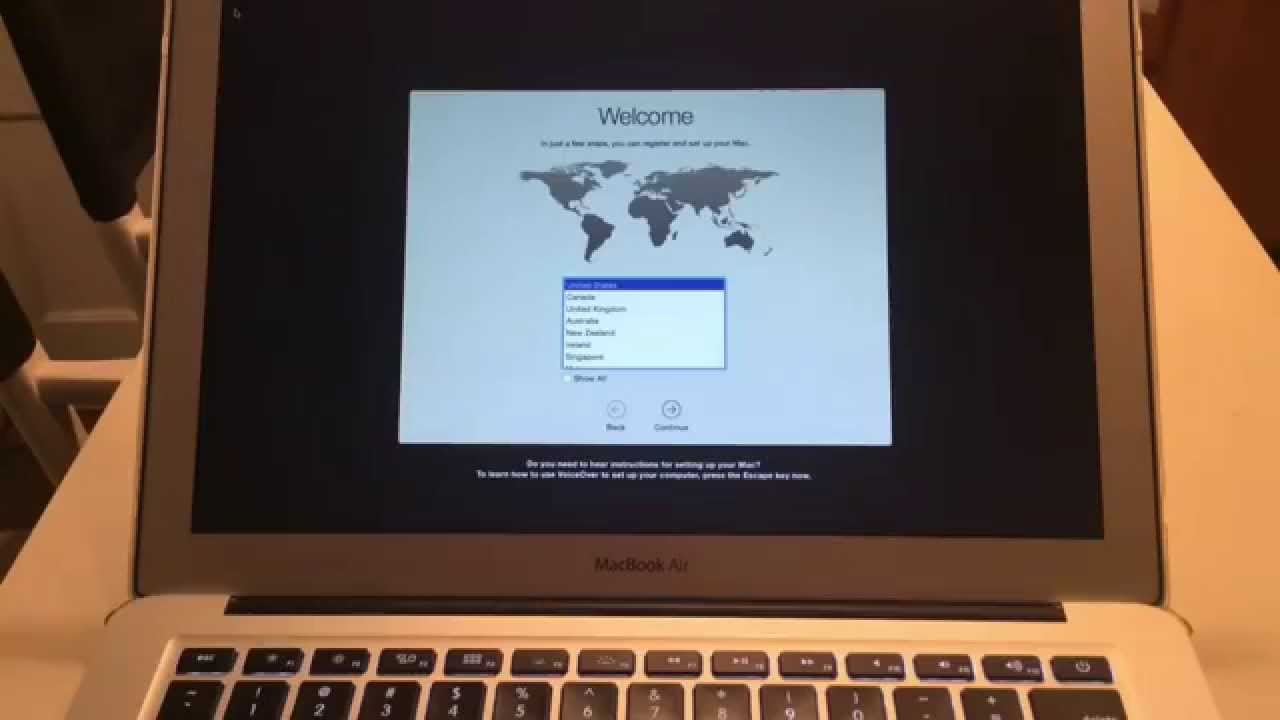
Credit: m.youtube.com
Restoring Your Data
When resetting your MacBook Air to factory settings without a disc, it’s important to ensure you can restore your valuable data. Restoring your data allows you to transfer back all your files, documents, and media to your MacBook Air after the reset. In this section, we will explore two methods to restore your data: using Time Machine and manually restoring files.
Using Time Machine
Time Machine is a built-in backup feature on macOS that allows you to create regular, automatic backups of your files. By utilizing Time Machine, you can easily restore your data to your MacBook Air after performing a factory reset.
Follow these simple steps:
- Connect your Time Machine backup drive to your MacBook Air.
- Restart your MacBook Air and hold down the Command and R keys simultaneously until the Apple logo appears.
- From the macOS Utilities window, select “Restore from Time Machine Backup.”
- Choose the backup source from the list displayed and click “Continue.”
- Select the latest backup of your data, then click “Restore.”
Manually Restoring Files
If you don’t have a Time Machine backup or prefer a more manual approach, you can still restore your files manually. This method involves transferring your files from an external storage device, such as a USB drive or cloud storage, back to your MacBook Air.
Here’s how you can manually restore your files:
- Gather your files from the external storage device or cloud storage where you kept them.
- Connect the storage device or log in to your cloud storage account.
- Open Finder on your MacBook Air.
- Navigate to the location where your files were previously stored.
- Copy and paste or drag and drop your files from the external storage device or cloud storage to their respective locations on your MacBook Air.
It is important to ensure that you have all your necessary files and data before proceeding with the factory reset. Take the time to verify that all your files are accessible and intact before initiating the reset process.

Credit: m.youtube.com
Frequently Asked Questions Of How To Reset Macbook Air To Factory Settings Without Disc
How Can I Reset My Macbook Air Without A Disc?
To reset your MacBook Air without a disc, follow these steps: Restart your MacBook and hold down Command + R to enter recovery mode. From there, you can erase your hard drive and reinstall macOS.
What Is The Difference Between Resetting And Restoring A Macbook Air?
Resetting a MacBook Air refers to erasing all the data and settings, essentially giving it a fresh start. Restoring a MacBook Air, on the other hand, involves bringing it back to a previous state, including data and settings, using a backup.
Will Resetting My Macbook Air Delete Everything?
Yes, resetting your MacBook Air will delete all your data and return it to the factory settings. It’s important to back up your files before proceeding.
Can I Reset My Macbook Air Without Losing Data?
No, resetting your MacBook Air will erase all your data. If you want to keep your files, make sure to back them up before initiating the reset process.

Conclusion
Resetting your Macbook Air to factory settings without a disc is a simple process that can help resolve various issues and make your device feel like new again. By following the steps outlined in this guide, you can easily reset your Macbook Air without the need for any physical installation media.
Remember to back up your data before proceeding and follow the instructions carefully. With this knowledge, you can confidently troubleshoot your Macbook Air and bring it back to its original state. Say goodbye to software glitches and welcome a fresh start!