To remove the HP laptop battery, turn off the laptop and disconnect the charger. Slide the battery release latches and then gently lift out the battery.
When it comes to removing the battery from your HP laptop, following the proper steps is important to avoid damage to the battery or the laptop itself. By taking the time to safely remove the battery, you can ensure that the process is completed without any issues.
We will discuss the step-by-step guide on how to remove the battery from an HP laptop, as well as some important considerations to keep in mind. Whether you need to replace the battery or simply want to clean the laptop, knowing how to properly remove the battery is essential.
Safety Precautions
Before you remove the battery from your HP laptop, it’s crucial to follow these safety precautions to ensure a smooth and safe process. By adhering to these measures, you can minimize the risk of damage to your laptop and protect yourself from potential electrical hazards.
Unplug The Laptop
Ensure that your HP laptop is not connected to any power source. This includes unplugging the charger from the laptop and disconnecting any other external power sources, such as docking stations or USB hubs. It’s essential to eliminate any chances of electric shock during the battery removal process.
Power Off The Laptop
Prior to removing the battery, make sure to power off your HP laptop completely. Shut down the operating system and then turn off the laptop. This ensures that the system is not in a state of hibernation or sleep mode, which could cause unintended issues during the battery removal process.
Ground Yourself
Before handling the battery, it’s important to ground yourself to prevent any static electricity discharge that could potentially damage the components of your laptop. You can do this by touching a metal object or using an antistatic wrist strap to ensure that you are at the same electrical potential as the laptop.
Locating The Battery
When it comes to removing the battery from an HP laptop, the first step is to locate the battery compartment. Knowing where the battery is located is essential to safely and effectively removing it. Below, we will discuss the steps involved in locating the battery and understanding the release mechanisms to ensure a smooth removal process.
Identifying The Battery Compartment
Identifying the battery compartment is the initial step in removing the battery from an HP laptop. The battery compartment is usually situated on the bottom of the laptop. Look for a small latch or sliding mechanism that secures the battery in place. Additionally, refer to the user manual for your specific HP laptop model for guidance on locating the battery compartment. Once you have located the compartment, proceed with identifying the battery release mechanisms.
Understanding Battery Release Mechanisms
Understanding the battery release mechanisms is crucial to safely removing the battery from an HP laptop. Most HP laptops feature a release latch or switch that must be engaged to unlock the battery for removal. Carefully inspect the compartment to identify the specific mechanism employed in your laptop model. Generally, the release mechanism will be accompanied by a visual indicator, such as an arrow or label, to assist with the removal process. It’s important to handle the release mechanism with caution to avoid damaging it during the battery removal.
Removing The Battery
Removing the battery from your HP laptop can be a simple and straightforward process, but it’s essential to do it correctly to avoid any damage to the device. Here, we will guide you through the steps to successfully remove the battery from your HP laptop.
Slide Battery Release Latch
Before removing the battery, ensure that your laptop is turned off and unplugged from the power source. Look for the battery release latch on the bottom of your HP laptop. This latch is designed to hold the battery in place. Slide the battery release latch to the unlock position to release the battery.
Gently Lift The Battery Out
Once the battery release latch is unlocked, you can gently lift the battery out of its compartment. Be careful not to force the battery out, as this could cause damage to both the battery and the laptop. Pay attention to any latches or tabs that may still be holding the battery in place and gently release them if necessary.
Checking Battery Health
Checking the battery health of your HP laptop is essential for ensuring optimal performance and longevity. By monitoring the battery’s wear level and inspecting for physical damage, you can proactively maintain your laptop’s battery. This article will guide you through the process of checking your HP laptop’s battery health, providing valuable insights to keep your device running smoothly.
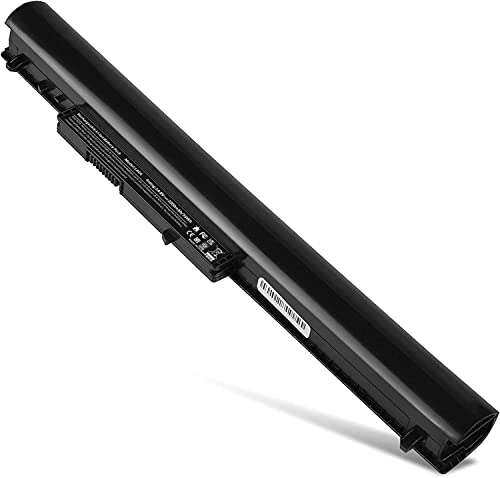
Inspecting For Physical Damage
Before removing the battery, carefully examine it for any signs of physical damage. Look for cracks, bulges, or leakage, as these can indicate a compromised battery. If you notice any damage, it’s crucial to handle the battery with care and seek a replacement to avoid potential risks.
Monitoring Battery Wear Level
To assess the battery wear level, you can utilize diagnostic tools provided by HP or third-party software. These tools can provide detailed information about the battery’s capacity and health status. By monitoring the wear level, you can determine if the battery requires calibration or replacement, ensuring consistent performance for your laptop.
Storing The Battery
When it comes to the proper care and maintenance of your HP laptop battery, storing it correctly is essential to prolong its life and ensure optimal performance. Improper storage can lead to a reduction in the battery’s capacity and potential damage, so it’s crucial to follow proper guidelines to protect your investment.
Proper Battery Storage Guidelines
When storing your HP laptop battery, it’s important to protect the battery contacts to prevent any potential damage. Ensure the contacts are not exposed to any harsh conditions, such as extreme temperatures, humidity, or pressure. Using a storage case or container specifically designed for batteries can help shield the contacts from external elements.
Ensuring the environment in which the battery is stored is free from any form of moisture or extreme temperatures is crucial to maintaining the integrity of the battery contacts. Avoid storing the battery in areas prone to excessive heat or humidity, such as a garage or attic. Instead, opt for a cool, dry location.
Replacing The Battery
Replacing the laptop battery is a simple process that can greatly improve the performance and longevity of your HP laptop. In this section, we will guide you through the steps of aligning and securing the battery correctly, ensuring that your laptop operates at its best.
Aligning The Battery Correctly
In order to ensure that the battery is aligned properly, follow these steps:
- Start by sliding the battery into the slot, taking care to match the grooves and pins.
- Make sure that the battery is properly seated and aligned with the connector inside the laptop.
Securing The Battery In Place
Once the battery is aligned correctly, it’s important to secure it in place to prevent any movement. Here’s how you can do it:
- Hold the battery firmly in place and press down until you hear a click, indicating that it is locked into position.
- Double-check that the battery is securely fastened and does not move when the laptop is gently shaken.
Testing The Laptop
When it comes to testing the laptop, the process of removing an HP laptop battery involves locating the battery release latches, sliding them outwards, and lifting the battery out. Carefully follow the manufacturer’s instructions and handle the battery with caution to avoid damaging it.
Powering On The Laptop
To properly test the laptop after removing the battery, make sure to follow the correct process. Before proceeding, ensure that the laptop is turned off.
Ensuring The Battery Is Recognized
After removing the old battery, it’s essential to ensure that the laptop recognizes the absence of the battery and is capable of functioning without it. Follow these steps to verify this:
- Connect the power adapter to the laptop.
- Power on the laptop and wait for it to start up.
If the laptop powers on and operates normally, it indicates that the laptop is recognizing the absence of the battery and is able to function using only the power adapter.
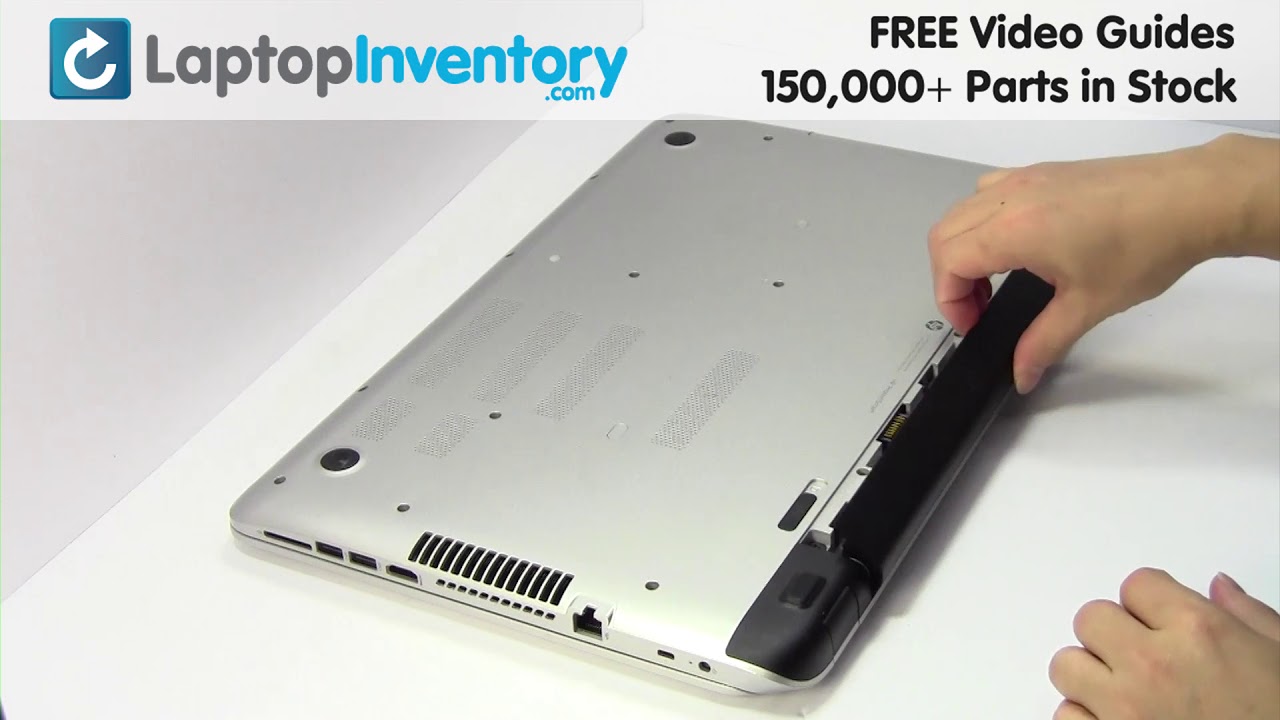
Credit: m.youtube.com
Frequently Asked Questions For How To Remove Hp Laptop Battery
How Do I Remove The Battery From My Hp Laptop?
To remove the battery from your HP laptop, turn it off, flip it over, and slide the battery release latch to the unlock position. Then, gently slide the battery out.
Can I Use My Hp Laptop Without The Battery?
Yes, you can use your HP laptop without the battery by plugging it directly into a power source. However, it’s recommended to use the battery intermittently to maintain its health.
Is It Safe To Remove The Hp Laptop Battery While It’s On?
It is not recommended to remove the HP laptop battery while it’s on. Always ensure that the laptop is powered off before attempting to remove the battery to avoid potential damage.
How Often Should I Remove And Reinsert My Hp Laptop Battery?
It’s advisable to remove and reinsert your HP laptop battery every few months to ensure proper connections and maintain battery health.
What Should I Do If My Hp Laptop Battery Is Stuck?
If your HP laptop battery is stuck, make sure the release latch is fully engaged, and gently wiggle the battery to release it. If it still won’t budge, seek assistance from a professional technician.


Conclusion
In closing, removing the battery from your HP laptop is a simple process that can help prolong its lifespan and improve overall performance. By following the step-by-step guide provided in this blog post, you can safely and effectively remove your HP laptop battery without any hassle.
Proper maintenance is essential for ensuring your device functions optimally.